


console.log(message) usage is simple: the argument message is logged to console.
console.log('My message');// logs "My message"const myVar = 12;console.log(myVar);// logs 12
This post presents 5 useful tips to help you become more productive when using console.log().
Table of Contents
1. Naming logged variables
When logging many variables, sometimes it's difficult to understand what variable corresponds to a log in the console.
For example, let's log some variables:
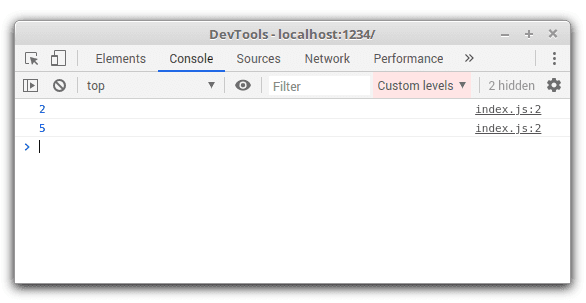
function sum(a, b) { console.log(b); return a + b;}sum(1, 2);sum(4, 5);
When the above code is executed, you'll see just a series of numbers:
To make an association between the logged value and variable, wrap the variable into a pair of curly braces { b }:
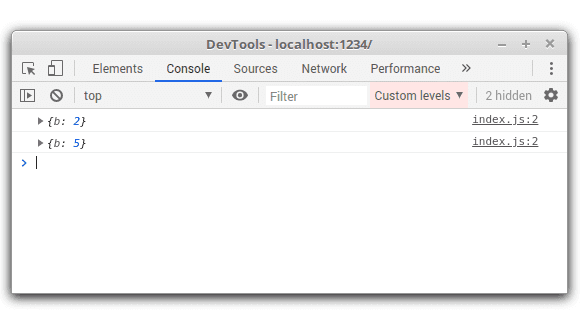
function sum(a, b) { console.log({ b }); return a + b;}sum(1, 2);sum(4, 5);
Now looking at the console, you can see that exactly variable b is being logged:
2. Advanced formatting
The most common way to log something to console is to simply call console.log() with one argument:
console.log('My message');// logs "My message"
Sometimes you might want a message containing multiple variables. Fortunately, console.log() can format the string in a sprintf() way using specifiers like %s, %i, etc.
For example, let's format a message containing a string and an integer:
const user = 'john_smith';const attempts = 5;console.log('%s failed to login %i times', user, attempts);// logs "john_smith failed to login 5 times"
%s and %i are replaced with values of user and attempts. The specifier %s is converted to a string, while %i is converted to a number.
Here's a list of available specifiers:
| Specifier | Purpose |
|--------------|-------------------------------------------------------------------|
| %s | Element is converted to a string |
| %d or %i | Element is converted to an integer |
| %f | Element is converted to a float |
| %o | Element is displayed with optimally useful formatting |
| %O | Element is displayed with generic JavaScript object formatting |
| %c | Applies provided CSS |
3. Log with style
Browser console lets you apply styles to the logged message.
You can do this by using the %c specifier with the corresponding CSS styles. For example, let's a log message with increased font size and font weight:
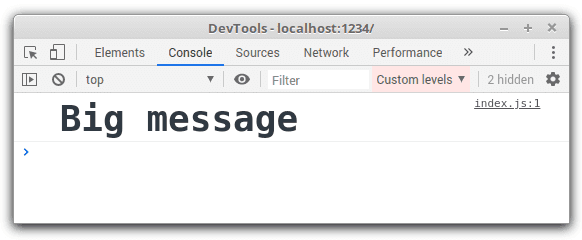
console.log('%c Big message', 'font-size: 36px; font-weight: bold');
The specifier %c applies the CSS styles 'font-size: 36px; font-weight: bold'.
Here's how the log with applied styles looks in Chrome console:
4. Interactive logs
Log styling depends on the host's console implementation. Browsers like Chrome and Firefox offer interactive logs of objects and arrays, while Node console outputs logs as text.
Let's see how Chrome logs the plain objects, arrays and DOM trees. You can interact with these elements by expanding and collapsing.
4.1 Objects
const myObject = { name: 'John Smith', profession: 'agent'};console.log(myObject);
In Chrome console the log of myObject looks like:
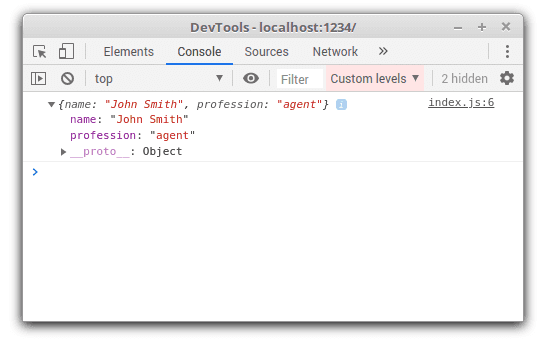
You can expand and collapse the list of object properties. As well you can see the prototype of the object.
4.2 Arrays
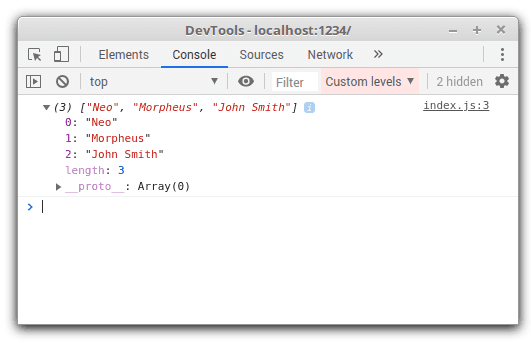
const characters = ['Neo', 'Morpheus', 'John Smith'];console.log(characters);
Chrome logs the characters array as follows:
4.3 DOM trees
You can interact directly with a DOM element that is displayed in the console.
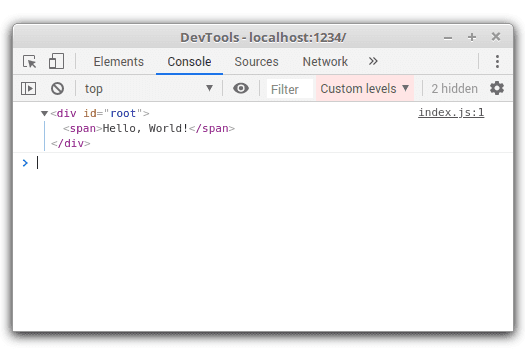
console.log(document.getElementById('root'));
In Chrome console, the DOM element can be expanded and its content can be explored in full:
4.4 Interactive logs inside messages
The %o specifier (which associates the right log formatting for the value) can insert arrays, objects, DOM elements, and regular text into a textual message, without losing the interactivity.
The following snippet logs a message containing an object:
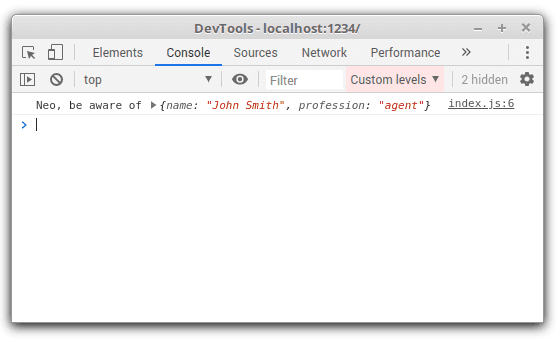
const myObject = { name: 'John Smith', profession: 'agent'};console.log('Neo, be aware of %o', myObject);
Looking at the console, the myObject array isn't converted to a string, but rather is being kept interactive.
5. Logging big objects in Node console
The logs in Node are output as plain text. However, console.log() in Node doesn't display objects with a deep level of nesting: objects at level 3 are shown as [Object].
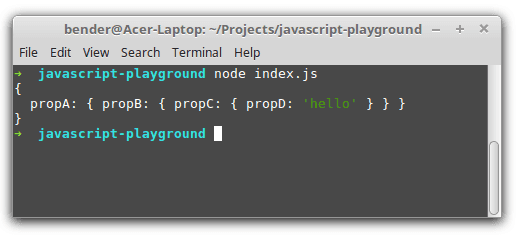
For example, let's log the following object:
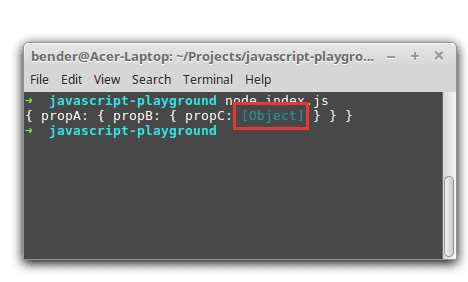
const myObject = { propA: { propB: { propC: { propD: 'hello' } } }};console.log(myObject);
When running the script, the object of propC is logged as [Object]:
5.1 Stringify the big object
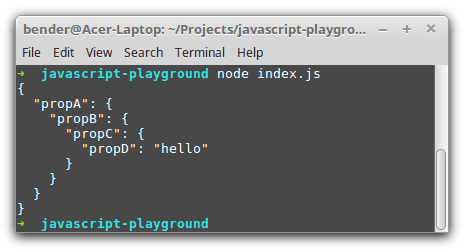
To see the full object structure, I log the JSON representation of the object using JSON.stringify():
const myObject = { propA: { propB: { propC: { propD: 'hello' } } }};console.log(JSON.stringify(myObject, null, 2));
JSON.stringify(myObject, null, 2) returns a JSON representation of the object. The third argument 2 sets the indent size in spaces.
Now the object is logged entirely and nicely formatted:
5.2 console.dir() with unlimited depth
A good alternative in displaying the object in depth is to invoke console.dir() without limiting the depth of the object:
const myObject = { propA: { propB: { propC: { propD: 'hello' } } }};console.dir(myObject, { depth: null });
console.dir() invoked with { depth: null } as the second argument logs the object in depth.
Here's how the log looks in console:
Hopefully, these 5 tips will make your logging experience in JavaScript more productive.
What logging tips do you use? Please write a comment below!

