


It's natural to learn new things playing and having fun. Children, kittens, puppies explore the world playing.
The same approach is useful in programming. If you'd like to try new React features, explore an idea, implement a simple demo, then you need a playground.
In this post, I will show you how to setup a React playground with almost zero configuration in 3 easy steps (using parcel bundler).
1. Step 1: install parcel
The first step is one command: install globally the parcel bundler (I'm using the version 1.12.4).
Run the command to install the parcel bundler using npm:
npm install -g parcel-bundler
or if you use yarn:
yarn global add parcel-bundler
The next step is to create the source files.
2. Step 2: create source files
You need to create the playground directory and place there 2 files: the HTML code and the React code.
I will name the directory react-playground, but you can choose your own. Let's create the new directory and enter into it:
mkdir react-playground && cd react-playground
Now, being inside the react-playground directory, let's create 2 source files.
The first file index.jsx contains the React code:
// index.jsximport React from 'react';import ReactDOM from 'react-dom';function App() { return <h1>Your React Playground is ready!</h1>;}ReactDOM.render( <App />, document.getElementById('root'));
The second file index.html contains the HTML code (the script tag links to ./index.jsx file):
<!-- index.html --><html><body> <div id="root"></div> <script src="./index.jsx"></script></body></html>
After creating the directory and files, your playground has the following items:
react-playground ├── index.html └── index.jsx
3. Step 3: run parcel
After the files index.html and index.jsx have been created in your playground's directory, simply run the build command:
parcel index.html
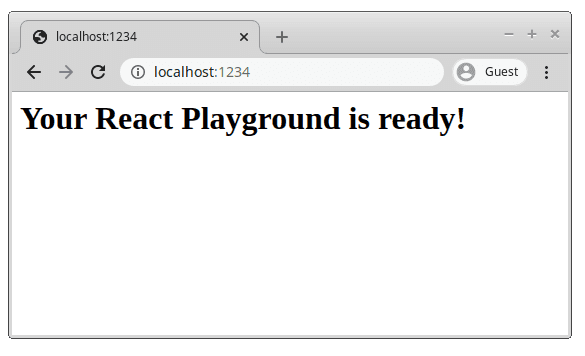
What a bit until parcel automatically installs the dependencies (react, react-dom, etc) and builds the playground. Finally, when the building has been completed, your playground is available at http://localhost:1234. Have fun!
You can start making changes to your playground right away. As soon as you change the source files, parcel automatically rebuilds the application, then updates the web page. Pretty cool!
If your playground needs more libraries, you don't have to install them manually. Simply require the needed library using import syntax, and parcel automatically installs the required dependencies.
Note that parcel installs the latest stable dependencies at the time of running the build command. But you can customize the dependencies versions.
4. Customizations
Let's see the common customizations you'd possibly need.
4.1 Add CSS
Adding styles to your local playground application is easy.
First, create the file styles.css in your playground project directory:
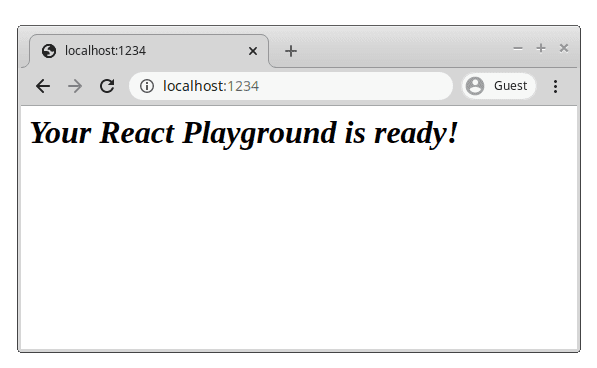
/* styles.css */h1 { font-style: italic;}
Secondly, update the index.html to link to the new external CSS file:
<!-- index.html --><html><head> <link rel="stylesheet" href="./styles.css"></head><body> <div id="root"></div> <script src="./index.jsx"></script></body></html>
Without any further configuration, parcel picks the CSS file and applies it. Any change to the stylesheets triggers a rebuild and web page update. Great.
4.2 Specific versions of dependencies
By default, parcel installs the latest stable dependencies. But you can easily customize the dependencies versions.
After the first build, parcel generates a package.json file in the playground directory:
react-playground ├── index.html ├── index.jsx └── package.json
To install a specific dependency version, for example of React and React DOM, simply update package.json:
// package.json{ "dependencies": { "react": "16.12.0", "react-dom": "16.12.0" }}
4.3 TypeScript support
Rename the React source file to index.tsx (.tsx extension instead of .jsx), and parcel automatically enables the support of TypeScript.
Create a file index.tsx having some TypeScript code:
// index.tsximport * as React from 'react';import * as ReactDOM from 'react-dom';function App(): JSX.Element { return <h1>Your React Playground is ready!</h1>;}ReactDOM.render( <App />, document.getElementById('root'));
Then update the HTML file so that the script tag to point to index.tsx file:
<!-- index.html --><html><body> <div id="root"></div> <script src="./index.tsx"></script></body></html>
Finally, install the React types modules:
npm install --save-dev @types/react @types/react-dom
Now your playground has TypeScript support. The editor should start type checking.
5. Conclusion
Playgrounds are a great way to play with the new features of React, test ideas, wire up a quick demo. If you prefer to have all your source code locally, then using parcel is a good start.
To setup a local React playground 3 easy steps are needed. Install parcel bundler globally, create your project directory with 2 source files: the HTML and React source files. Finally, just run the parcel build command. The playground is ready!
If for some reason you don't like parcel, an alternative is the known create-react-app. If you don't like local playgrounds, I have had a good experience with codesandbox.io.
Happy playing!

